
 Español

How to Remove a Bearing from a Shaft Without a Puller: 5 Proven Methods
Every maintenance engineer knows the scene: a bearing stuck on a shaft, a repair waiting, and no puller in the toolbox. The job looks impossible until you remember one basic truth: bearings stay on a shaft because of an interference fit, and interference can be defeated with heat, cold, leverage, or patience. As a bearing manufacturer, we hear this story often. Here are five proven ways to remove a bearing from a shaft without a puller, from gentlest to most aggressive.
Read the Fit Before You Start
Before choosing a method, work out how the bearing is actually held. A deep groove ball bearing's inner ring is slightly smaller than the shaft, and the resulting interference fit keeps it in place. The amount of interference tells you how much force you will need.
| Fit class | Interference (mm) | Common applications |
|---|---|---|
| Transition fit | 0 to +0.005 | Small fans, light-duty mechanisms |
| Light press fit | +0.005 to +0.015 | Standard electric motors, pumps |
| Medium press fit | +0.015 to +0.030 | Larger motors, gearboxes, vehicle hubs |
Corrosion is the wild card. A bearing on a rusty shaft behaves like a heavy press fit no matter what the original specification said. Give the joint a soak with penetrating oil and let it work for at least half an hour before you start.
- Soak the shaft-to-ring interface with penetrating oil.
- Write down the bearing number on the shield or outer ring.
- Have a soft hammer, pry bars, and a heat source ready.
If the markings puzzle you, our guide to deep groove ball bearing types and uses explains the codes and dimensions on common motor bearings.
Method 1: Heat the Inner Race Evenly
Heat is the most reliable no-puller method because it works directly against the fit. The inner ring expands as it warms, opening the bore while the shaft stays at its original diameter. Use a heat gun, a torch kept moving, or a work lamp close to the inner race. Light grease smoke from a rubber-sealed bearing is normal; keep the heat moderate and let the expansion do the work.
When the inner ring is heated evenly, put two large screwdrivers or pry bars behind the ring at opposite sides. Work them alternately to walk the bearing off, tapping gently with a brass drift if needed. The bearing may come off with surprising ease once heat breaks the interface. This method can save the bearing, provided the shields are not overheated and the rolling surfaces look clean.
Method 2: Shrink the Shaft with Cold
If you cannot apply heat safely near fuel lines, wiring, or a sealed unit, go the other way and cold-shrink the shaft. Freezer spray from an electronics supplier does the job quickly. Spray the shaft where it protrudes past the bearing, and within a minute or two the shaft diameter contracts by a few microns. On a light press fit, those microns are enough to slide the bearing off with gentle levering.
For a stronger effect, pack the shaft end with dry ice or wrap it in a bag of ice. Keep the cold on the shaft rather than on the bearing; the bigger the temperature difference, the looser the fit. Tap around the inner ring with a soft hammer and slide the bearing off. The trick especially suits small 6000-series and 6900-series bearings.
Method 3: Two Pry Bars and a Vise
For small- and medium-size bearings, mechanical leverage often wins. Clamp the shaft horizontally in a soft-jaw vise. Position two pry bars or flat-blade screwdrivers behind the bearing inner ring, one on each side, and rest the tools on a wooden block close to the bearing. Press both levers evenly while a helper taps the bearing with a plastic or brass hammer. This loads the inner ring evenly so it slides off instead of tilting.
Support-and-tap variation
If the bearing sits near the end of a shaft, place the shaft vertically with the bearing resting on two steel blocks that clear the inner ring, then drive the free end of the shaft downward with a soft-metal drift. The shaft moves, the bearing does not. This works well with 6200-series bearings in small electric motors.
Method 4: Bearing Splitter and Press
A bearing splitter is not a puller, but it makes removal nearly as clean as one. Close the splitter plates behind the inner ring, set the assembly on the bed of an arbor press or hydraulic press, with a socket or spacer under the shaft, and press the shaft out. The force travels straight along the centreline, so there is no risk of cocking the bearing and binding it harder.
No press? Run two long bolts through the splitter plate holes and tighten them alternately, using the threaded rods as pulling legs. Turn each bolt a quarter-turn at a time, supporting the shaft, and the bearing will walk off.
Method 5: Cut the Bearing Off
When the bearing is already noisy, rough, or going to scrap, cutting it off is fast and straightforward. Fit a thin cut-off disc to an angle grinder and cut a slot through the outer race, then a second slot roughly opposite. Go only as deep as the outer race; stop before touching the cage or rolling elements. The outer race relaxes once the ring is broken, and the balls can be removed easily. Finish by cutting the inner ring if necessary, or split it with a chisel and slip it off.
Protect the shaft by wrapping it with a thin brass shim or a couple of layers of aluminium foil. A grinder slip can leave a groove that creates a stress concentration for the new bearing, so take the extra minute to shield the surface before cutting.
Check the Shaft and Choose a Proper Replacement
Once the bearing is off, resist the temptation to fit a new one immediately. Measure the shaft at the bearing seat with a micrometer and look for burrs, heat discolouration, or fine scoring. Light marks come off with emery cloth; deeper damage means the shaft should be built up, sleeved, or replaced. Confirm that the new bearing bore and width match the original dimensions stamped on the old bearing.
For general industrial motors, pumps, and gearboxes, a standard deep groove ball bearing is almost always the right choice, and the 6200 series covers most of the common shaft sizes in this range.
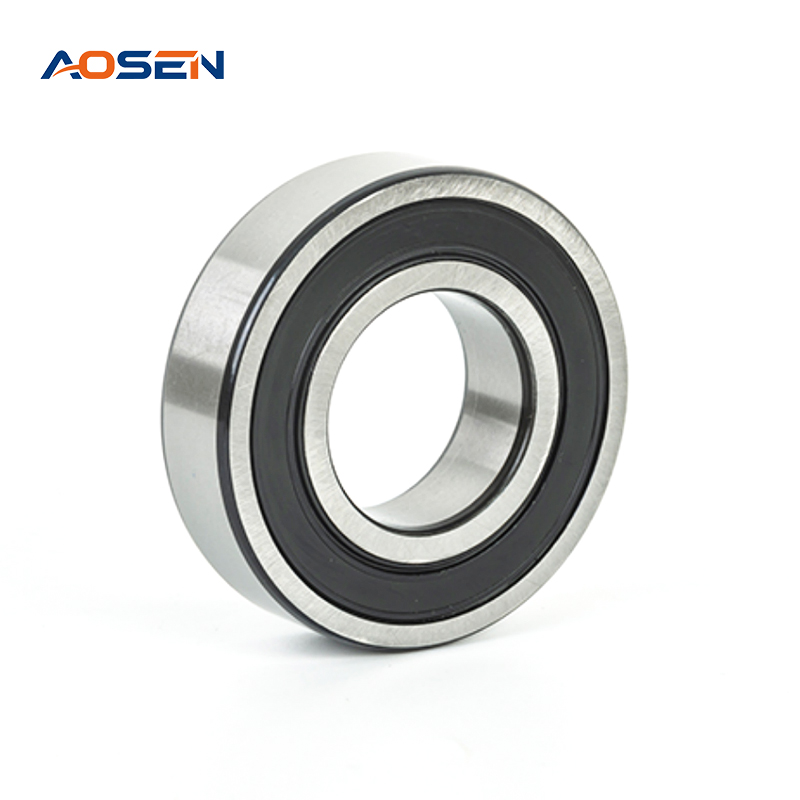 6200 Series Deep Groove Ball Bearings for General Industrial UseThe 6200 series covers common shaft sizes for motors, pumps, and gearboxes, offering hardened GCr15 steel construction and detailed load ratings for reliable service.View Product →
If the equipment operates in humid, chemically aggressive, or washdown environments, consider a stainless steel bearing instead. The chromium content in the rings and balls resists the corrosion that eventually welds a bearing to its shaft in the first place.
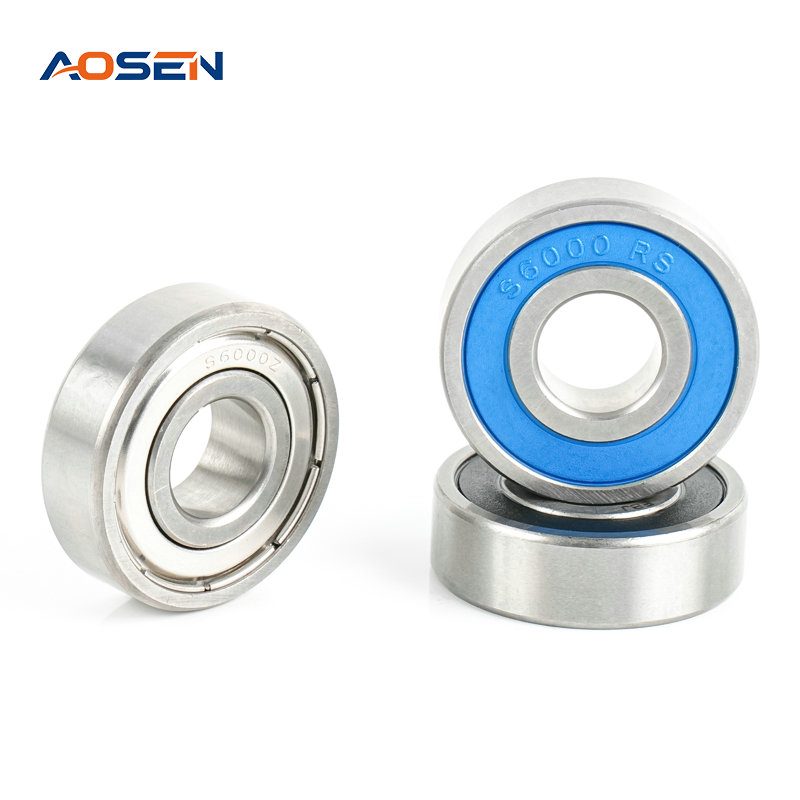 SS 6000 Series Stainless Steel Bearings for Corrosive EnvironmentsThis stainless steel bearing series resists moisture and chemical attack, making it suitable for washdown or humid conditions where standard bearings would corrode.View Product →
When reinstalling, warm the new bearing in an oven or with a bearing heater and slide it onto the shaft without hammering the outer ring. Use a mounting sleeve that pushes only on the inner ring, so the rolling elements never carry the mounting load. If you need help matching the right series to your application, our engineers know these dimensions after years of supplying replacements for motors and pumps.
A Few Final Safety Notes
Whichever method you choose, protect yourself and the part you want to keep. Wear safety glasses and heavy gloves whenever prying, heating, or cutting. If you plan to reuse the bearing, use heat and patience rather than a grinder, and inspect the rolling surfaces afterwards for brinelling or discolouration. Never strike the outer ring while the inner ring is still on the shaft; the shock dents the raceways and ruins the bearing.
Removing a bearing without a puller is not a magic trick. It is a matter of understanding the fit, applying force along the right direction, and letting temperature do the work where leverage cannot. With a little patience, the bearing will move before the shaft does.




-

-
 +86-15990593443
-
 No. 558 Huancheng West Road, Zhouxiang Town, Cixi City, Ningbo Province, Zhejiang Province

- Quick Links
- Product Categories
- Deep Groove Ball Bearings
- Stainless Steel Deep Groove Ball Bearings
- Angular Contact Ball Bearings
- Flange Bearings

Message Us Now !