
 Español

How to Remove a Bearing from a Shaft Without a Puller: Proven Shop Methods
Every maintenance technician eventually faces the same problem: a bearing seated stubbornly on a shaft, with the puller nowhere in sight. After nearly a decade manufacturing deep groove ball bearings and supplying them to industries around the world, we have seen creative field solutions and the results of careless ones. The practical truth is that removing a bearing from a shaft without a puller is entirely possible, provided you respect the fit, the shaft, and a few basic rules. These are the methods we recommend from experience.
Before You Begin: Protect the Shaft and Yourself
Preparation matters more than brute force. The shaft journal has to remain clean and undamaged, because that surface determines how well the next bearing will seat. Work through this checklist before choosing a removal method:
- Wear safety glasses and heavy work gloves. Bearing edges are hard and sharp, and the moment the bearing lets go, parts can fly.
- Clean the shaft and bearing area, then apply penetrating oil around the inner race and let it soak for ten to fifteen minutes.
- Check the shaft end for burs or peened metal and file them smooth.
- Remove snap rings, circlips, or locking collars before starting.
- Identify the bearing series. Standard deep groove ball bearings follow predictable removal patterns, but if you are unsure about the internal design, our guide to deep groove ball bearing construction and fit explains the basics.
If the bearing spins freely on the shaft instead of being pressed in place, stop and check for a retaining collar or setscrew you may have missed. A bearing that spins freely should never be attacked with cutting tools, because you will cut the shaft before making any progress.
Method 1: The Vise and Pry Bar Technique
This is the most accessible method for small and medium bearings, especially when the shaft can be removed from the machine and clamped in a bench vise. It works by applying even, opposite pressure under the inner race and walking the bearing up the shaft.
- Clamp the shaft vertically in a bench vise, bearing side up. Use soft jaws or a thin piece of copper sheet to avoid scoring the shaft journal.
- Slip two pry bars under the inner race, opposite each other. If the inner race is hidden behind a shield or seal, use the outer race edge as a temporary lift point; you will sacrifice the bearing anyway.
- Push down on both pry bars simultaneously. Work side to side, keeping the bearing level as it travels up the shaft.
- Reapply penetrating oil every few minutes. If the bearing stops moving, stop prying and bring in heat from Method 2.
If the bearing starts to tilt, stop immediately. A tilted inner race locks itself tighter against the shaft and becomes much harder to free.
Method 2: Heat and Cold
Interference fits work because the inner ring is slightly smaller than the shaft journal. When you heat the inner ring, it expands faster than the shaft, and the fit opens enough for the bearing to slide free. The same logic works in reverse: cool the shaft and it shrinks briefly.
- Apply heat to the inner race with a heat gun, small propane torch, or bearing heater. Keep the heat moving around the ring and avoid playing the flame directly on the shaft.
- As the residual oil begins to smoke, grip the bearing with heavy gloves or channel locks and try to rotate it gently.
- Once it rotates, lift it off with pry bars or a flat blade, using the same technique as Method 1.
- If it will not move, cool the shaft quickly with a wet rag to increase the temperature difference, then try again.
For very small bearings, the freezer method works well. Cool the whole shaft for an hour, then apply brief heat only to the bearing ring. The few seconds of expansion are usually enough to free the bearing.
Method 3: Cut the Cage and Outer Race
Reserve this method for bearings that are already scrap. Cutting removes the bearing quickly but carries the highest risk of shaft damage, so work with deliberate care.
Using a thin cut-off wheel on an angle grinder or rotary tool, cut through the outer race at one point. Then make a second cut 180 degrees away. Once both cuts go through, the outer race opens up, the balls drop free, and the cage falls apart. Only the inner ring remains on the shaft.
Switch back to the cut-off wheel and cut a shallow groove through the inner ring at an angle. Stop as soon as the wheel breaks through the thin ring. Make a second groove close to the first, then use a cold chisel to crack the remaining bridge. The inner ring relaxes almost immediately and slides off the shaft.
Apply tape to the shaft beside the bearing to protect it, or hold the cut-off wheel at a slight angle so the cut does not go deep all at once. Never use the shaft shoulder as a cutting guide.
Method 4: Bearing Splitter and Shop Press
A bearing splitter is technically not a puller, but for anyone with access to a shop press it is the most controlled removal method of all. The splitter grips the back of the inner race evenly while the press pushes the shaft through the center.
- Set the splitter behind the bearing so both halves grip the inner race evenly.
- Place the splitter on a pair of parallels or a strong block, with clearance for the shaft to pass below.
- Press the shaft through with an arbor press, keeping the bearing and splitter aligned as you go.
Without a splitter, you can improvise with a deep socket and a steel plate drilled with a hole slightly larger than the shaft. Support the plate on blocks, feed the shaft through the hole, and press on the shaft end. The bearing rests against the plate and the shaft moves out cleanly. In our own workshop, this improvised setup has saved badly bent shafts more times than we can count.
Comparing the Removal Methods
The table below compares the four approaches across the factors that matter most in a shop environment.
| Method | Best For | Key Tools | Risk to Shaft |
|---|---|---|---|
| Vise and pry bars | Small to medium bearings | Bench vise, pry bars | Low |
| Heat and cold | Tight interference fits | Torch, heat gun, freezer | Low |
| Cutting the bearing | Scrap or damaged bearings | Cut-off disc, cold chisel | Moderate |
| Splitter with press | Larger bearings, frequent jobs | Bearing splitter, shop press | Low |
Avoid These Common Mistakes
- Never hammer directly on the outer race or the balls. The shock travels through the balls into the raceways and can deform the inner ring against the shaft, making things worse.
- Never clamp a bare shaft in steel vise jaws without protection. The jaw teeth will leave permanent scores on a bearing journal.
- Do not let the cut-off disc wander. A deep scratch in the shaft shoulder is a permanent stress raiser and a weak point for the next bearing fit.
- Do not overheat the bearing until it glows. If the inner ring turns blue, you have heated the shaft as well, and the fit may actually have become tighter.
Choose the Right Replacement Bearing
Once the shaft is clean and inspected, installing a replacement is straightforward. Verify the bearing size printed on the old race and check the shaft journal with a micrometer. For general industrial maintenance, a standard steel deep groove ball bearing provides the best balance of load capacity, speed rating, and economy.
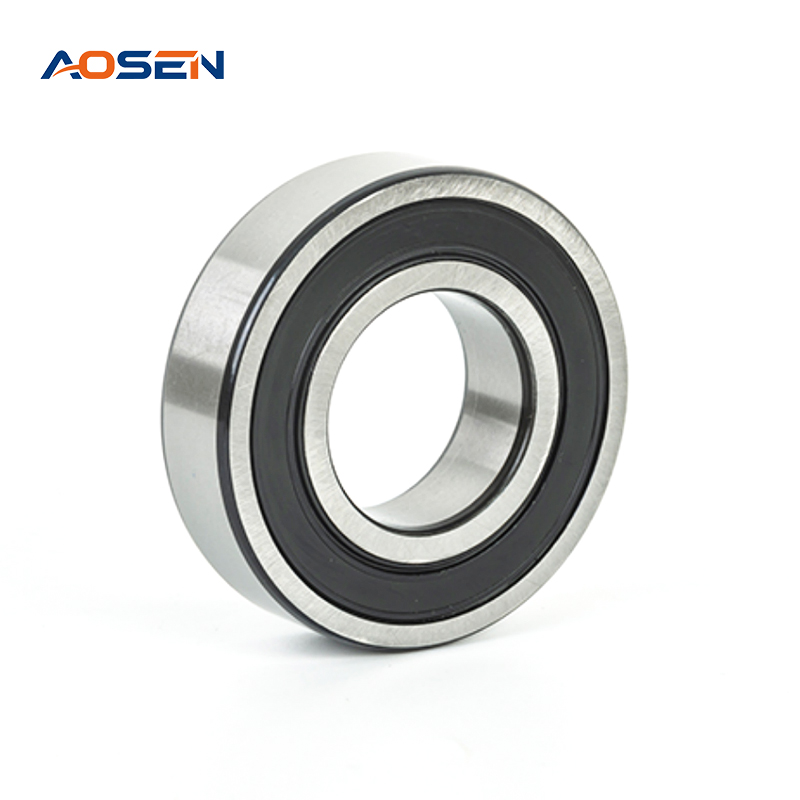 6200 Series Deep Groove Ball Bearings for General MaintenanceAfter confirming shaft size, this standard steel bearing series offers a dependable balance of load capacity, speed, and cost for typical industrial replacement work.View Product →
If the old bearing failed because of contamination or corrosion, consider upgrading to a stainless steel version. For demanding industrial applications exposed to washdowns, chemicals, or high humidity, stainless steel bearings hold up far better. Many customers in food processing, marine, and chemical plants make that switch after their first unplanned removal.
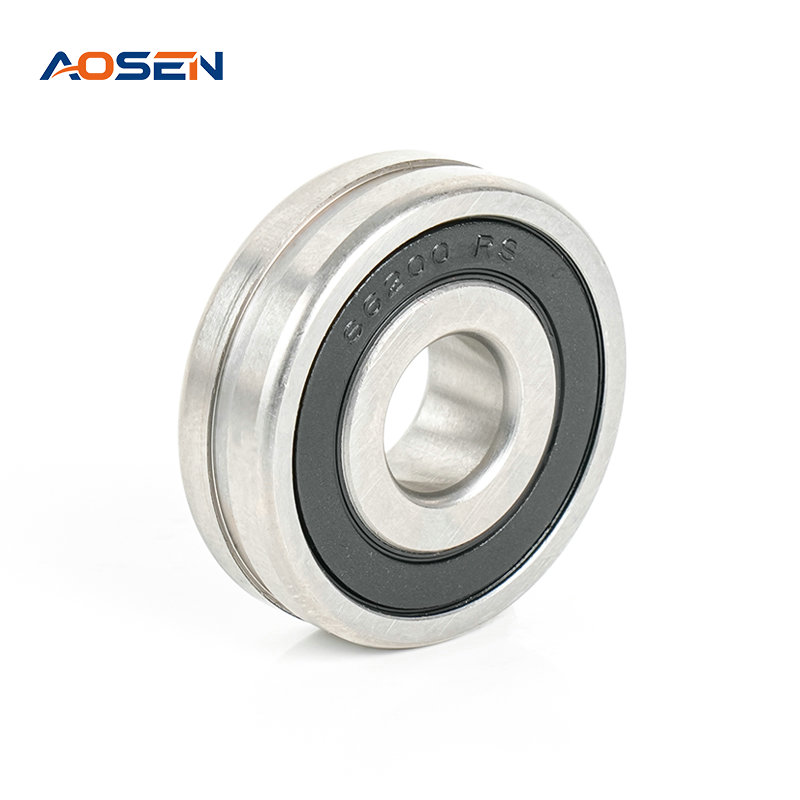 SS 6200 Series Stainless Steel Bearings for Harsh EnvironmentsWhen contamination or corrosion caused the failure, stainless steel versions resist moisture and chemicals, making them a practical upgrade for washdown, food, and marine applications.View Product →
If you are not certain which material or internal clearance suits the job, talk to a bearing supplier before ordering. A few minutes of confirmation at this stage can save you from repeating the whole removal process six months later.
Removing a bearing from a shaft without a puller comes down to reading the situation. If the bearing is still usable and the fit is light, work it off with pry bars and a vise. If it is stubborn, let the heat do the job. If it is already damaged, cut it away without hesitation and protect the shaft throughout. The next time you meet a seized bearing, you will know exactly which method gets it off in minutes rather than hours. And when the old bearing is off, invest in a quality replacement that will make the next removal a little less dramatic.
-

-
 +86-15990593443
-
 No. 558 Huancheng West Road, Zhouxiang Town, Cixi City, Ningbo Province, Zhejiang Province

- Quick Links
- Product Categories
- Deep Groove Ball Bearings
- Stainless Steel Deep Groove Ball Bearings
- Angular Contact Ball Bearings
- Flange Bearings

Message Us Now !